Halloween Preparations: How to Make a DIY Pumpkin Bong
Halloween is a holiday people are typically introduced to in their early years. Moving from block to block while wearing spooky costumes to get treats from neighbors is a sugar-filled experience. Once you get to your teens, you might've fancied yourself as an enthusiast in tricks through pranks and late-night parties. Now that you're a young adult, you're more or less done with the juvenile activities of Halloween.
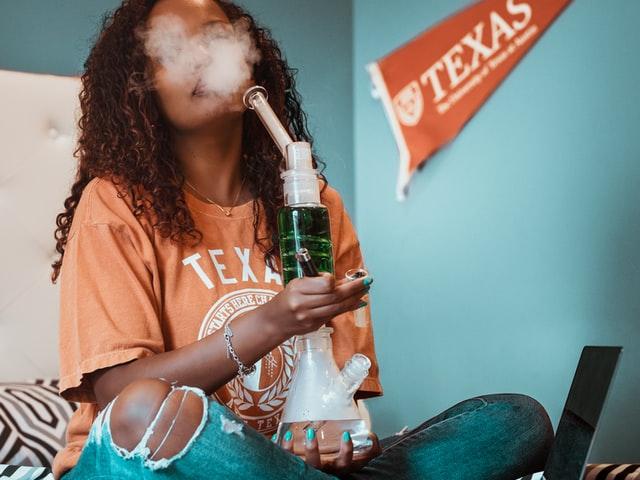
Halloween is a lot more than just the activities you can do outdoors. In fact, hosting parties in your home is one of the many simple joys of being an adult. Instead of dressing up in costume, you can cook yourself a simple pumpkin-themed dessert and spend the spooky holiday watching horror flicks. Alternatively, you can create a pumpkin bong to add a bit of Halloween spice to your herbs-smoking sessions.
How to Make a Pumpkin Bong
Since bongs practically just need a sealed container to circulate air, you can pretty much make one yourself out of anything. Instead of carving pumpkins for your home's décor, you'll be excited to learn about the holiday-fitting tradition of making pumpkin bongs.
If you want to put a Halloweens spin to your bong-smoking sessions, follow this DIY guide:
Step#1: Gather Your Materials
Obviously, you'll need an aptly-sized pumpkin to carve into. You can also use a conventional bong's downstem if you don't want to improvise for a new pipe. This can help you smoke it easier without making too many adjustments. Finally, bring in your carving tools and screwdriver so you can mold different areas around the pumpkin.
Step#2: Insert Your Downstem
After taking out the pumpkin's flesh, carve an appropriately-sized hole on your pumpkin's side along the top. Make sure you don't carve too much so you can keep the downstem in place. Additionally, the hole should be narrow enough to hold your downstem securely.
Step#3: Carve a hole for Your Mouthpiece
Carve another hole on your pumpkin's side to serve as your mouthpiece. Cut it at a 45 degree angle, so you meet the smoke's path in the base of the pumpkin. Don't forget to cut another hole from the center of the pumpkin. This is where smoke will travel as you light up your bong.
Step#4: Fill Your Pumpkin
Add water inside your pumpkin by funneling it through the mouthpiece. Since a pumpkin is considerably larger than your usual bowl, it might take a while. However, don't be too careless to have too much to overflow. Additionally, its large size makes it take longer to bubble.
Like a normal bong, you should be able to see your weed from your mouthpiece as you blaze your herb. Seal your lips around the mouthpiece and enjoy the added pumpkin-spiced flavor to your herbs. A few whiffs in, and you'll see why making pumpkin bongs can be a new tradition to keep in your household.
Conclusion
Enjoying the holidays will be different for every person, which means there are no strict rules you have to follow. While kids are out in the night wearing their spooky costumes, you'll be chilling at home enjoying a pumpkin bong. Although it's a DIY project, you'll still need the right materials to create your pumpkin-spiced inhalation device. For this reason, you should get sturdy and reliable supplies from the right store.
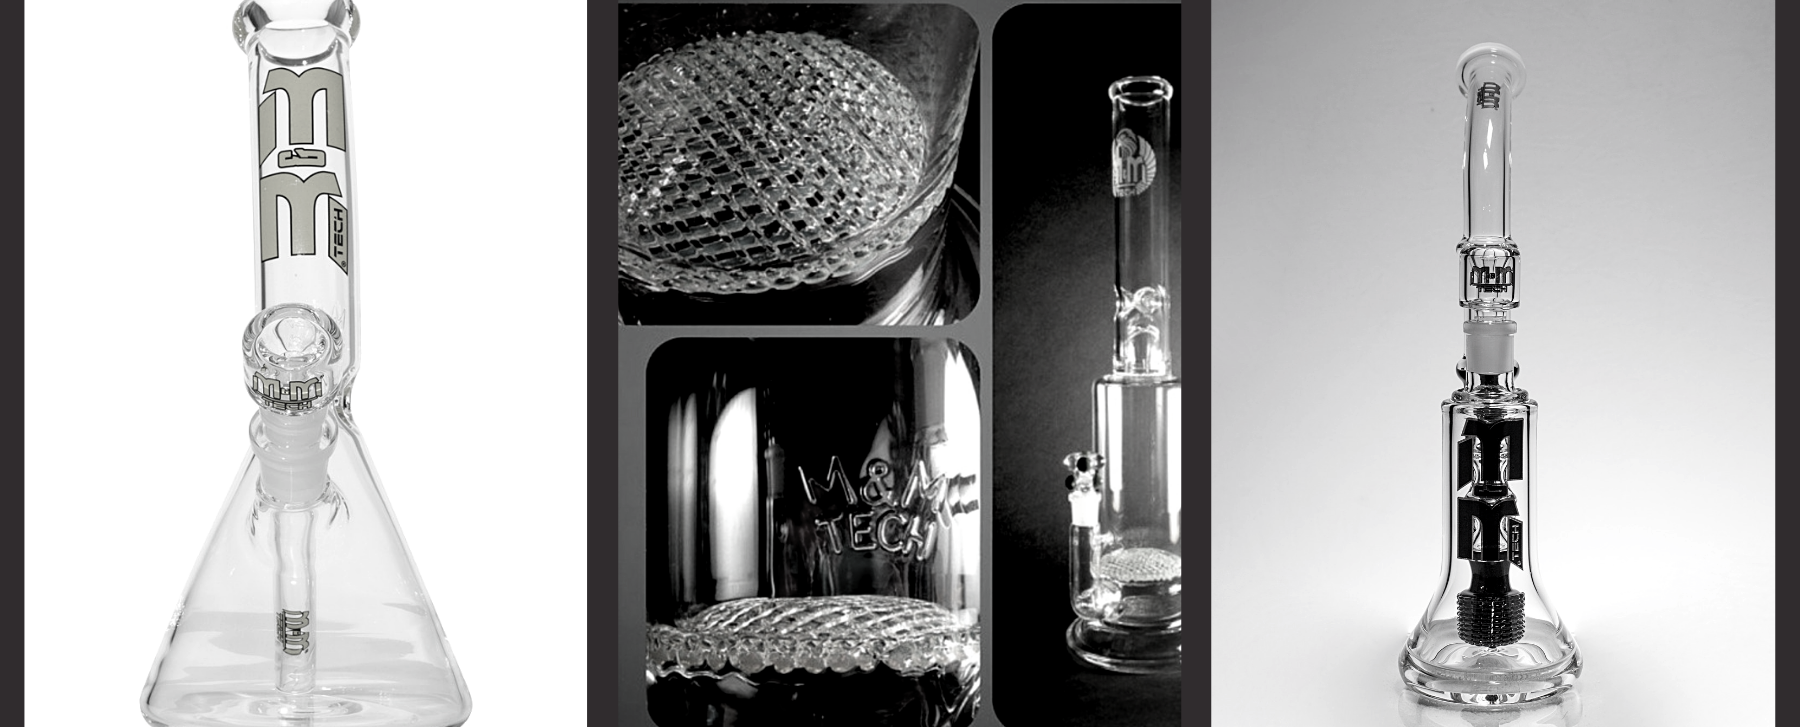
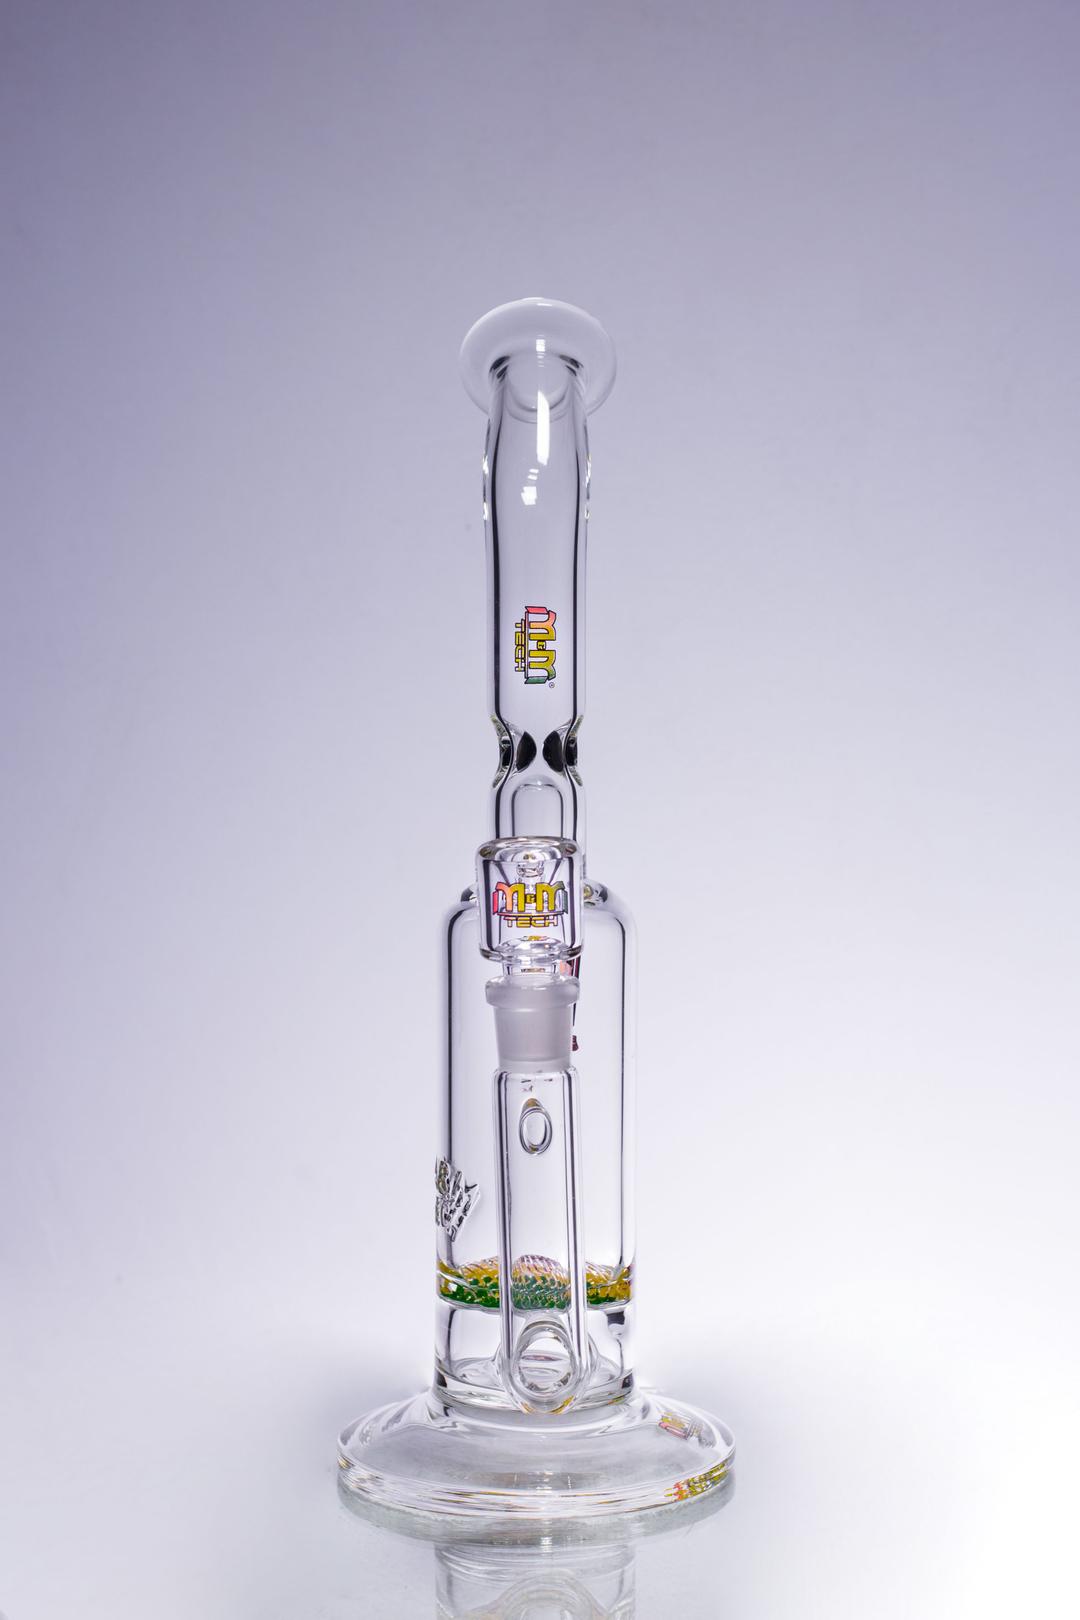
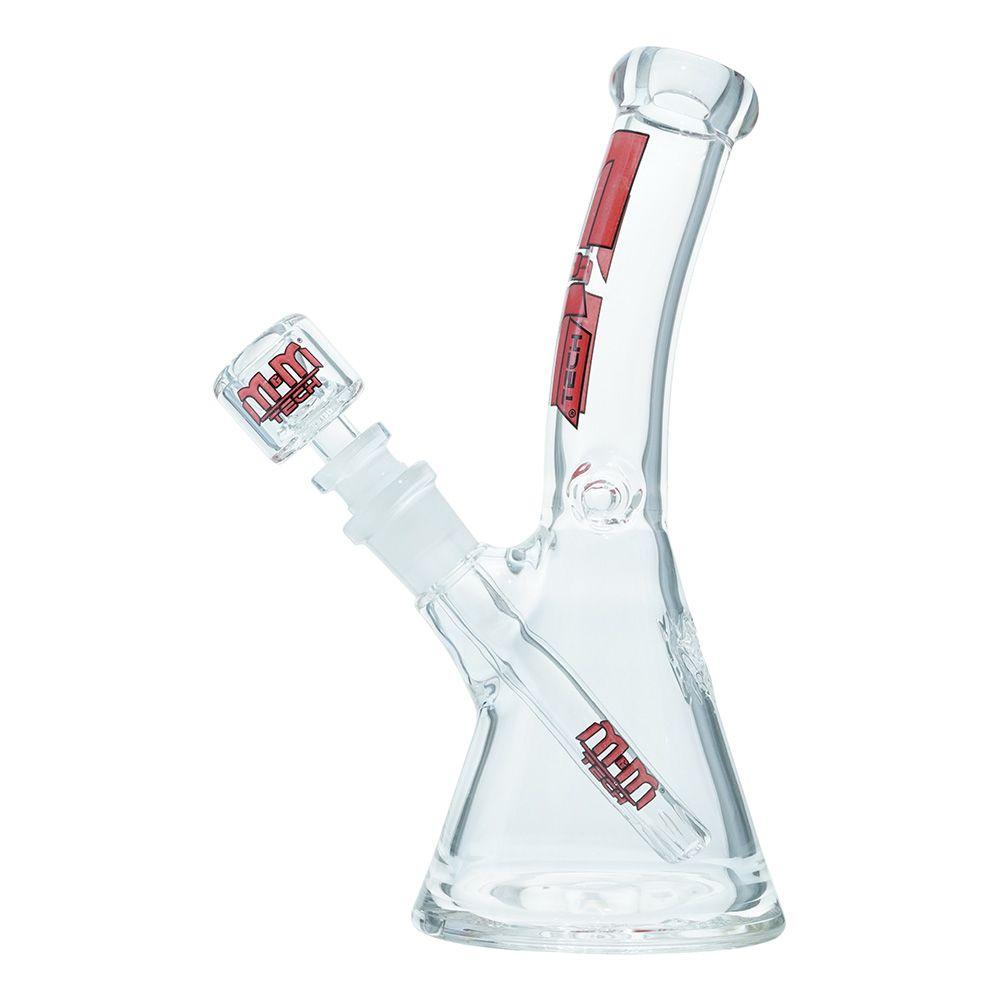
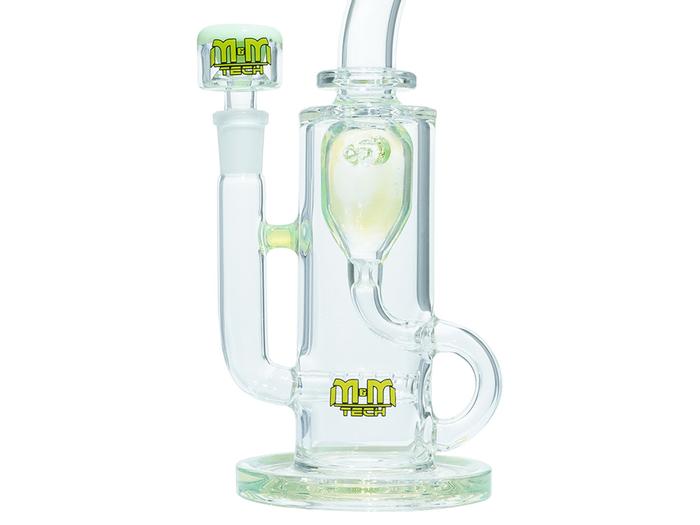
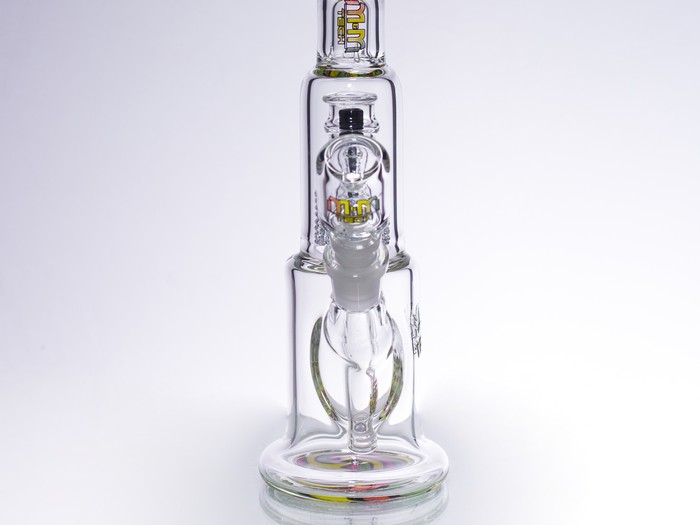
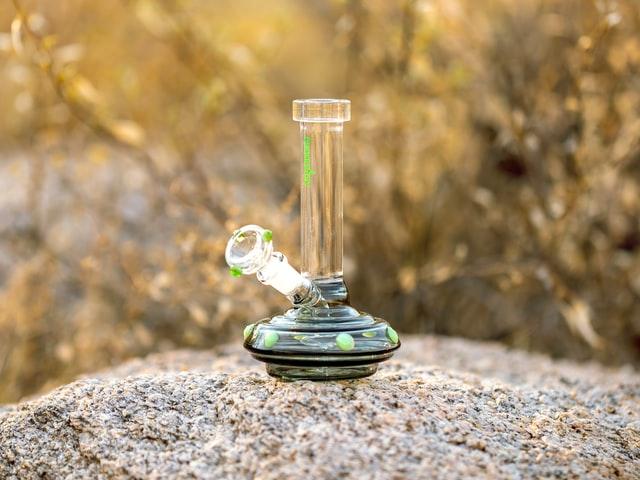
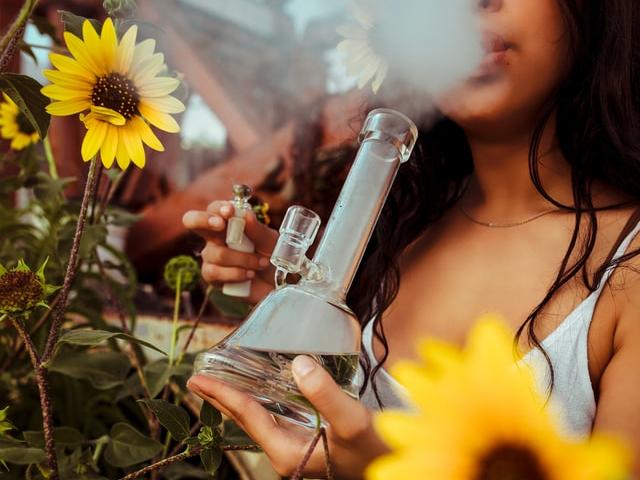
While it's fun to build your own bong, that doesn't mean you should make everything from scratch. This is why having the perfect glassware takes half the trouble out of making a functioning pumpkin bong. If you're looking for high-tech glass bongs to complete your DIY rig, buy from us today!
CHECK OUT OUR MOST POPULAR CONTENT

For all general inquiries, please contact us at info@mm-tech.us
©2021 M&M Tech Copyright. All rights reserved